BLE Dissolved Oxygen Sensor
I designed a Bluetooth connected dissolved oxygen sensor as part of a larger USDA-NIFA funded project in our lab at HBOI. The over-arching initiative of the project is to bring new technologies into the field of aquaculture in order to drive down operating costs.
Background
One of the most labor-intensive tasks in a pond-aquaculture system is the collection of dissolved oxygen (DO) data. In a matter of hours, the DO in a high density fish pond can drop to levels that cause a pond-wide fish kill. This means every pond on a farm (which can range from a few dozen for a small farm to hundreds on a large-scale commercial farm) needs to be measured on an hourly basis, 24 hours a day. When DO levels reach a critically low value, farmers have to apply additional aeration or chemicals to raise the DO values.
A Better DO Probe
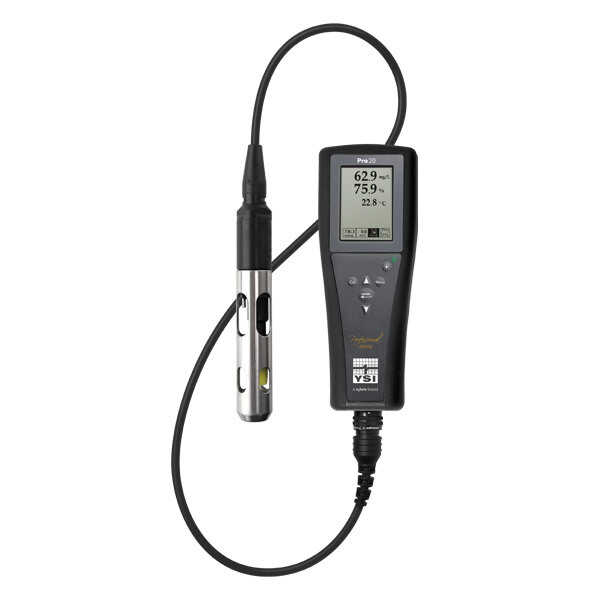
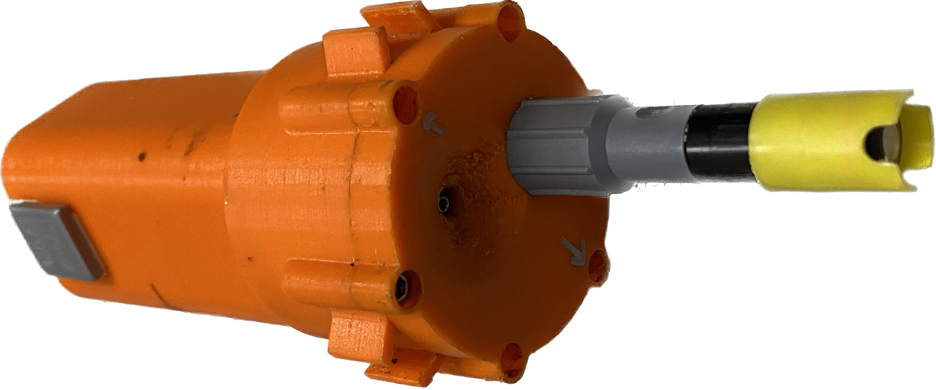
A typical farm requires workers to continuously drive to different ponds and measure the DO levels with a handheld DO probe like the one shown below. These DO probes can cost hundreds of dollars and lack many modern connectivity features. DO data cannot be stored in the device itself and requires a farmer to transcribe the data to another device, or most often the case, to a handwritten chart.
To make a more functional DO probe, our lab aimed to create a cheaper DO probe that incorporated Bluetooth Low Energy (BLE) communication. With BLE communication, we can connect the probe to phones, computers, or other BLE enabled microcontrollers that have the ability to automatically gather data from the DO probe.
In addition to BLE communication, we wanted to incorporate a pressure and temperature sensor so that we could correlate DO values with a specific water depth and temperature. This information can be useful in stratified ponds where both the temperature and DO concentration can vary with depth.
Circuit Design
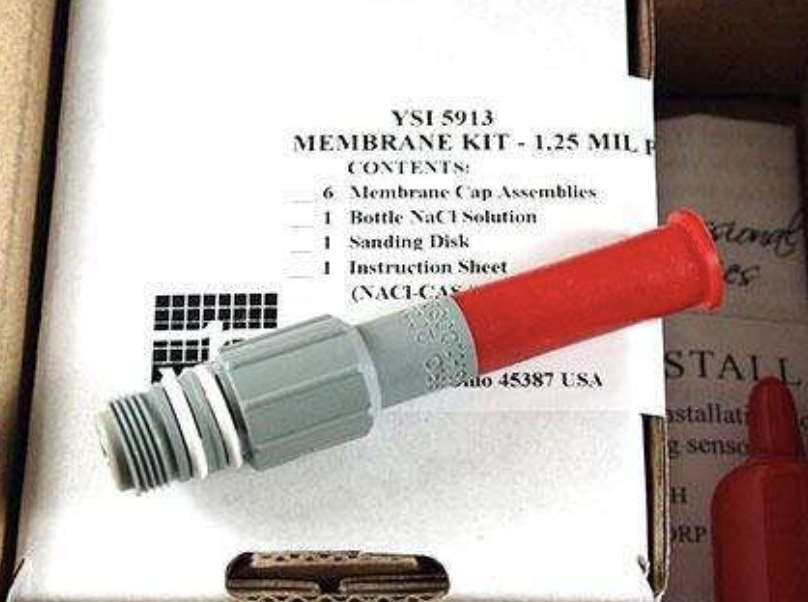
The electronics are fairly simple for our BLE sensor. The DO probe is a galvanic dissolved oxygen sensor that is sold as a spare part for commercial devices. Fortunately, the principle of operation for a galvanic oxygen sensor is straightforward. The sensor head is a constant current device that outputs a current proportional to surrounding oxygen levels. By placing a resistor in series with the sensor head, we can convert the current into a voltage that is picked up by the ADC of a microcontroller.
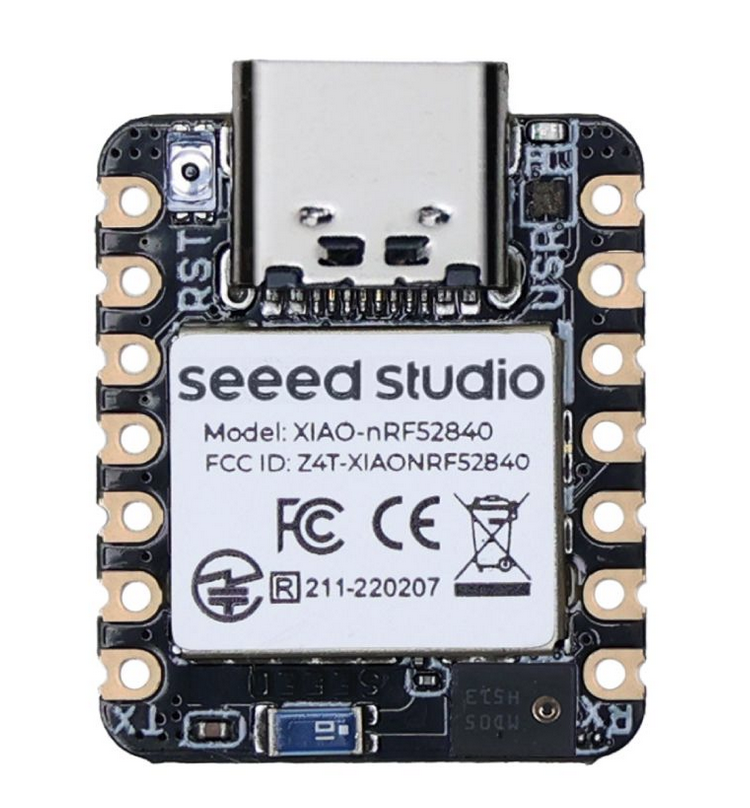
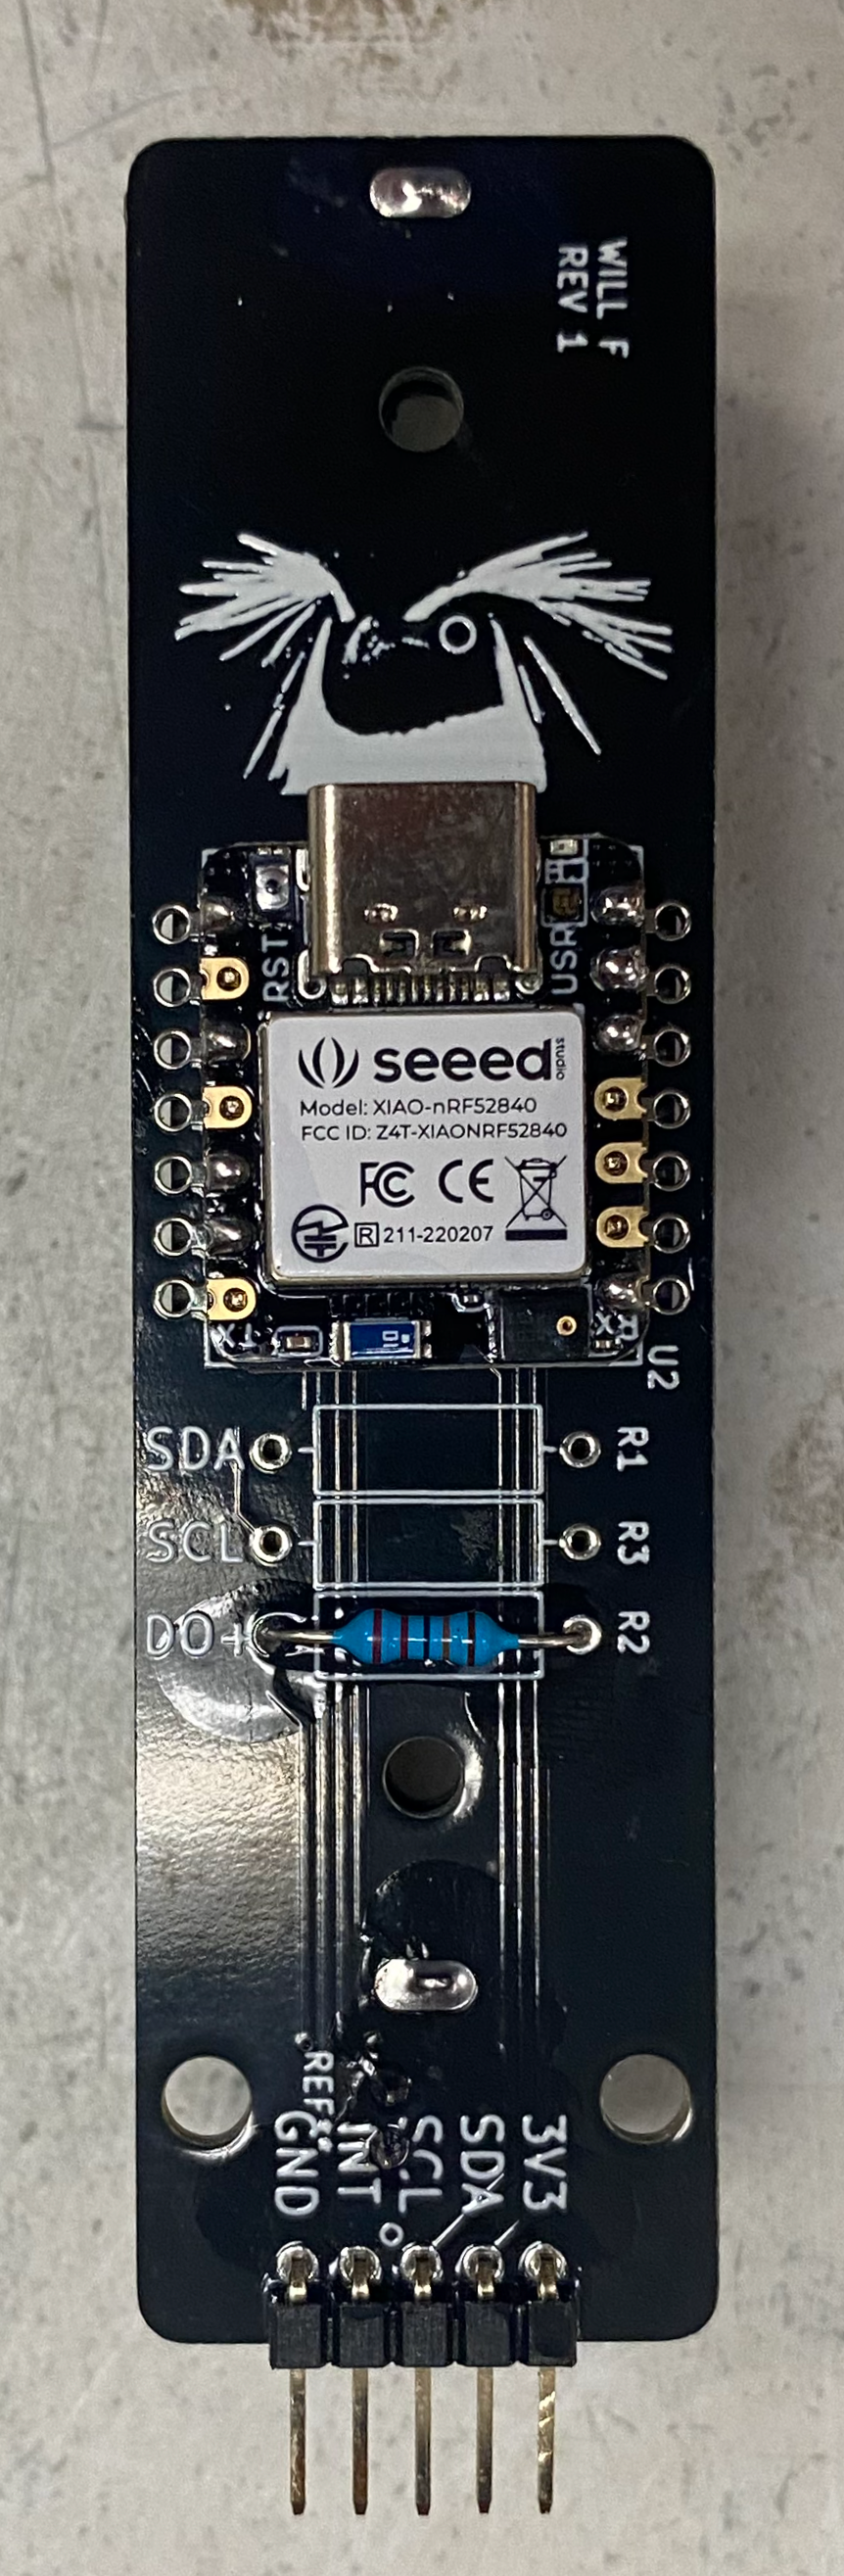
For the microcontroller, I wanted to use the NRF52840, a Bluetooth capable chip that is widely supported by a variety of IDEs. To save on development time, we ended up using the Seeed Studio XIAO breakout board which contains the NRF52840, a 2.4 Ghz antenna, a battery charger IC, and a variety of sensors, LEDs, and buttons that can aid in development.
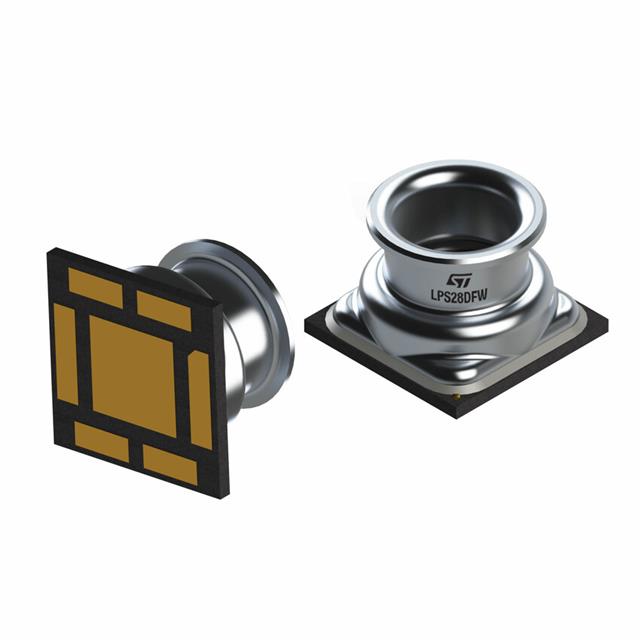
The only additional sensor needed was the pressure sensor. The LPS28DFW is a tiny surface mounted sensor that measures both pressure and temperature and communicates over I2C with the NRF52840. The IC itself is also encased in a waterproof housing.
Waterproof Housing
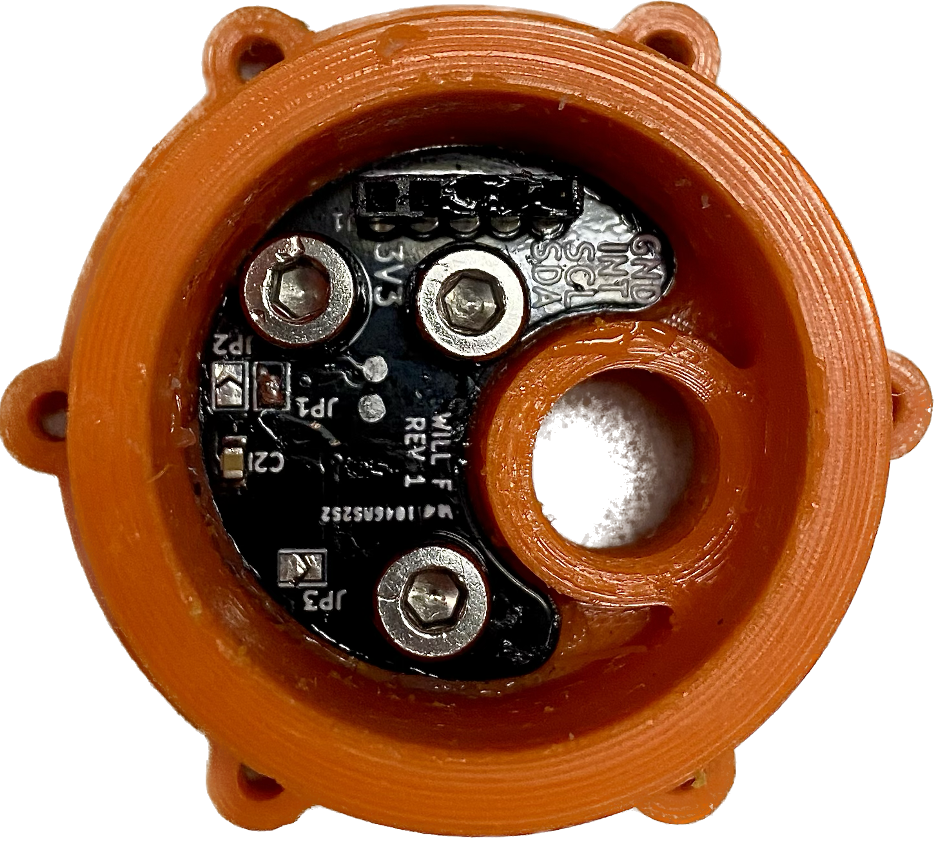
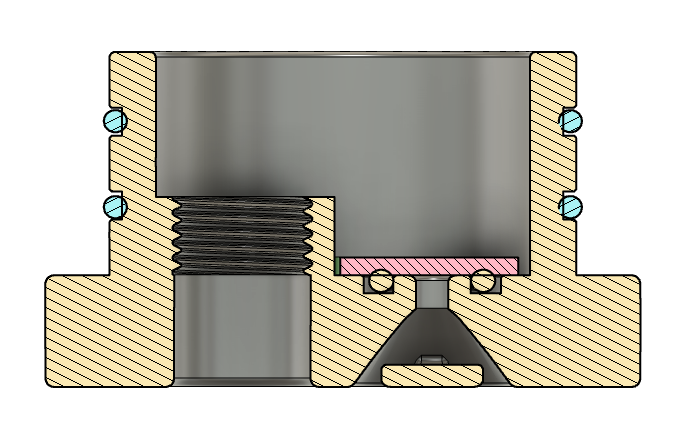
The most challenging part of this project was creating a housing that could leave the DO and pressure sensor exposed to the environment while keeping the rest of the circuit protected from the water. Instead of keeping everything on a single PCB, I made a dedicated PCB for just the barometer sensor and kept the rest of circuitry on a second board that plugs into the barometer board.
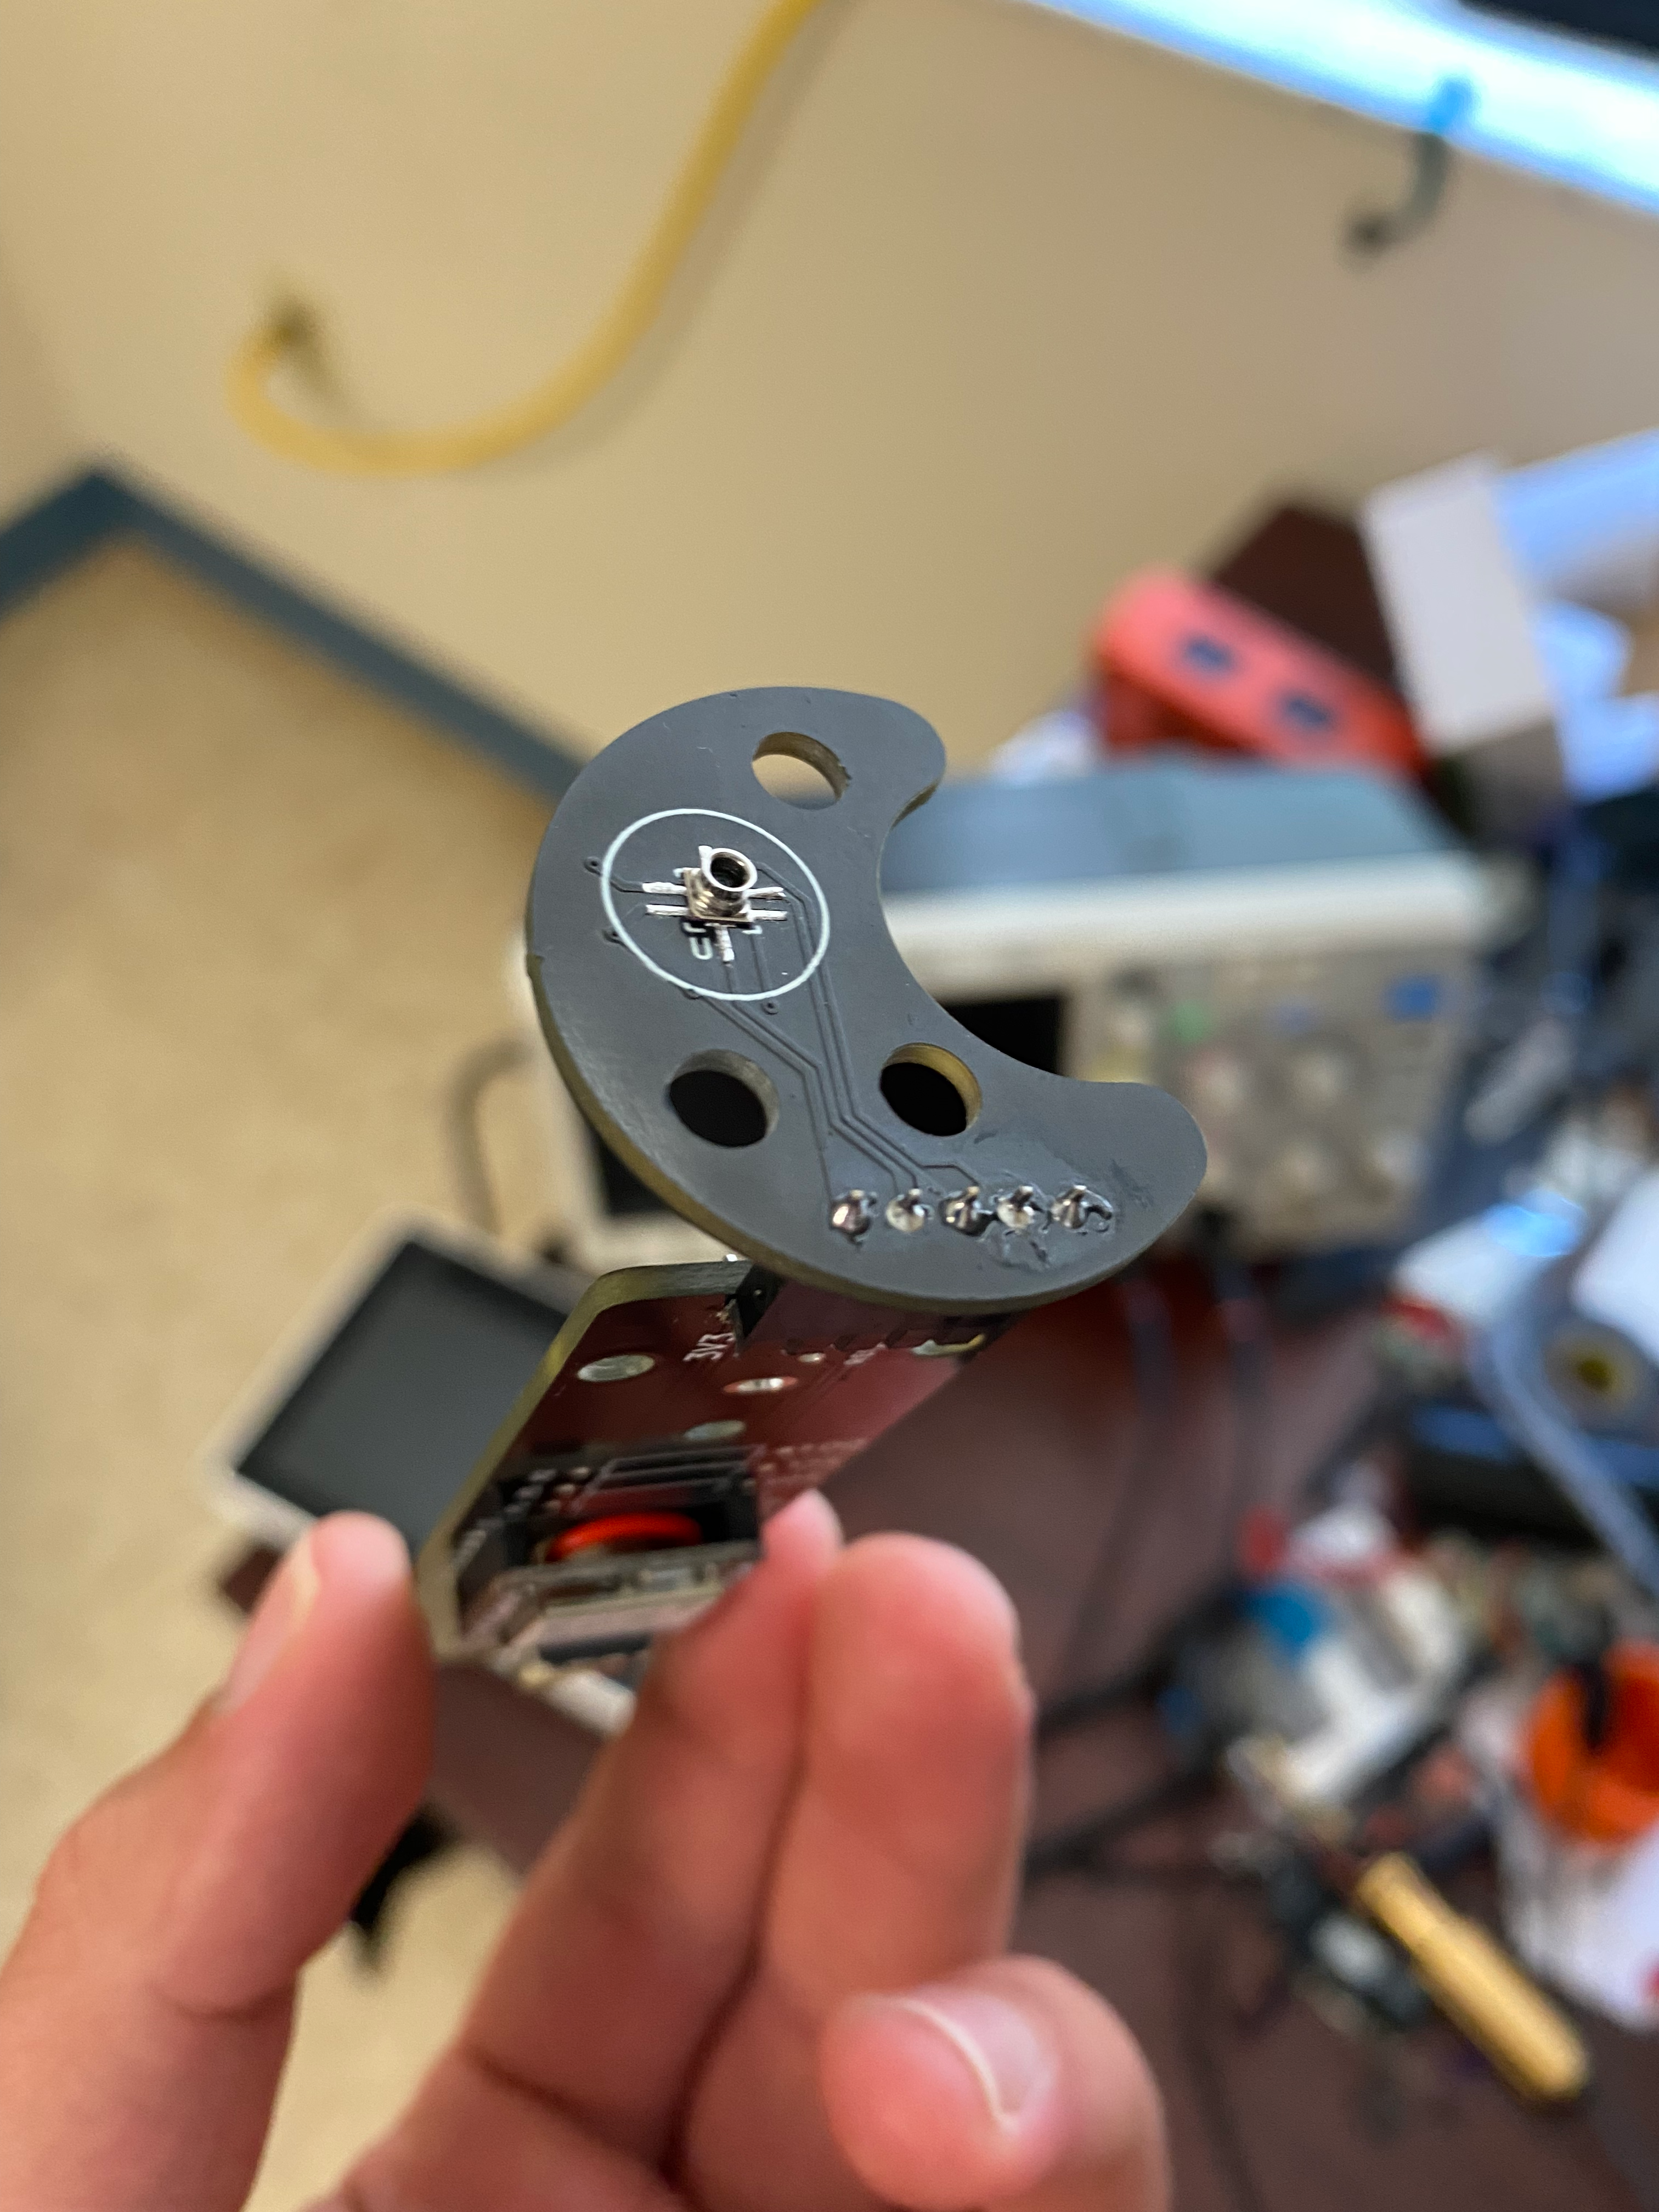
The barometer board is then sealed against a 3D printed cap that has a hole for the barometer and second hole for the DO board. The DO probe has its own pair of O-rings that seal against the inside hole of the cap.
Fully Assembled Sensor
A fully assembled sensor is shown below. This particular sensor has external weights to make the sensor negatively buoyant. This allows a drone with a winch (a soon to be published project …) to lower the sensor through a column of water to collect a profile of DO and temperature.
Waterproof 3D Prints ??
Usually, the default settings on a FDM printer for PETG or PLA will result in a print that is very much not waterproof. Water can typically penetrate along the z-axis seam of the print or in between each layer of the print. To achieve waterproof prints, I had to tweak the extrusion rate, nozzle temperature, seam alignment, and increase the number of vertical and horizontal shells. In the end, the printer is pushing more material into the same volume which ends up blocking most of the channels that water can seep through. The biggest downside so far to this method seems to be a rougher finish to the print along with an increased likelihood of clogging a nozzle.